Download and install the app
Download the ClaimGap installer from the Download page. Run the installer on Windows 10 or Windows 11. If Windows SmartScreen shows a warning, click "More info" then "Run anyway" — this is normal for new software that hasn't yet accumulated a signing reputation.
The app does not require an account, internet connection, or cloud storage to function. Once installed, it runs entirely offline.
Open the app and land in the Claim Workspace
When you first open ClaimGap, you'll see the Claim Workspace — the main dashboard. From here you can start a new claim, continue your last claim, or browse previously saved claims in the Claim Library.
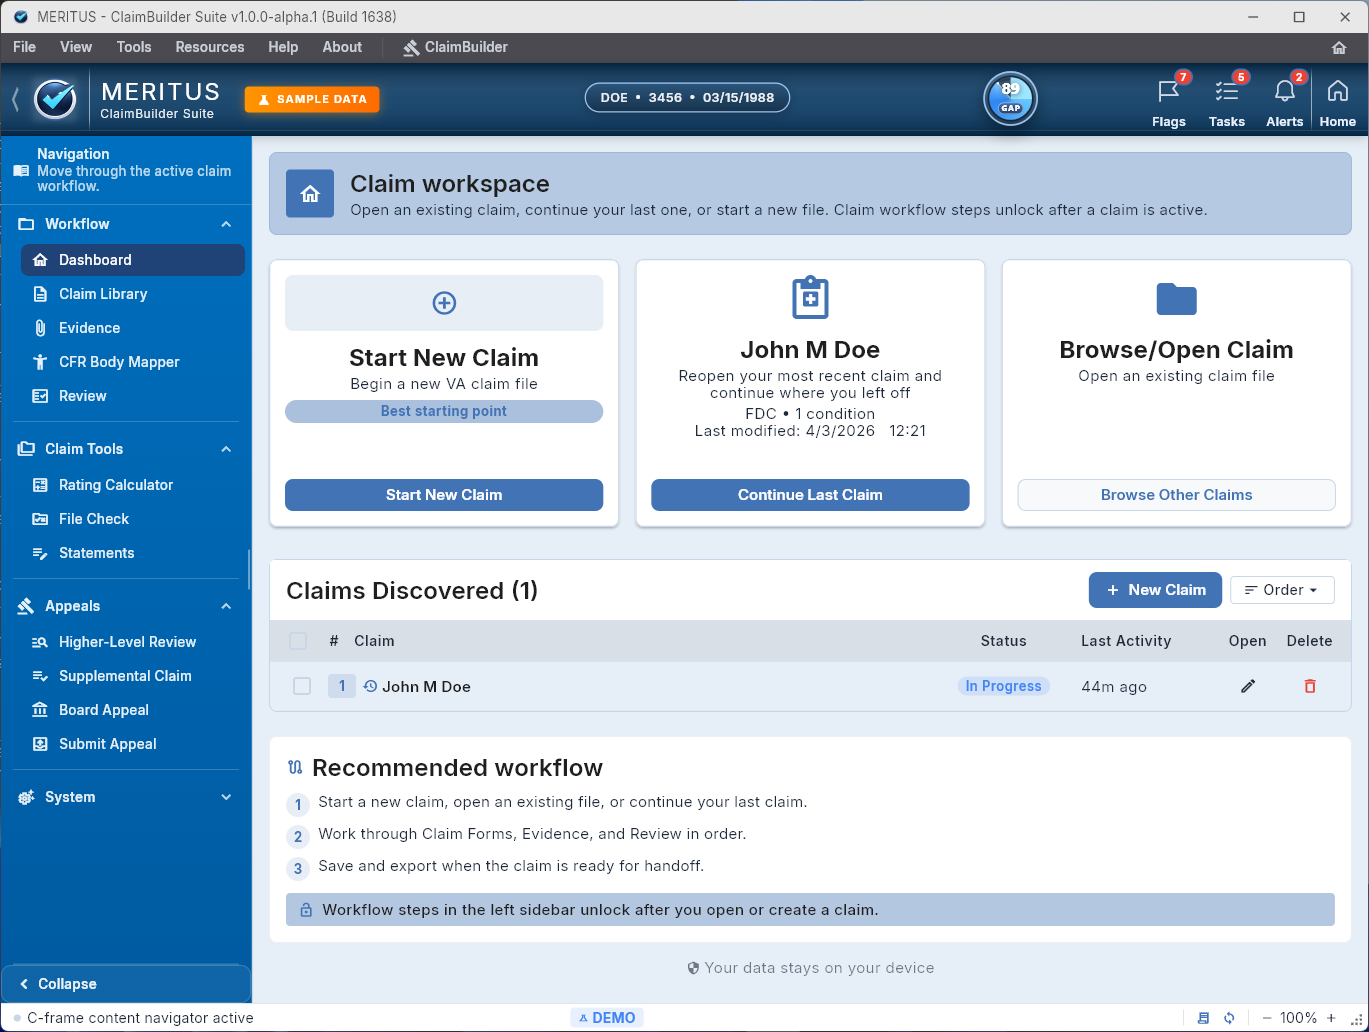
The Claim Workspace — starting point for every session. Three main actions: Start New Claim, Continue Last Claim, or Browse Claims.
Start a new claim and choose your claim path
Click Start New Claim. The setup screen lets you choose your claim category — New Claim, Claim for Increase, or Secondary Claim — and your processing track (Fully Developed Claim or Standard). Then give the claim file a name and create it.
The claim file is saved as a local .vetclaim file in a location you choose. It is not uploaded anywhere. You can reopen it at any time from the Claim Library.
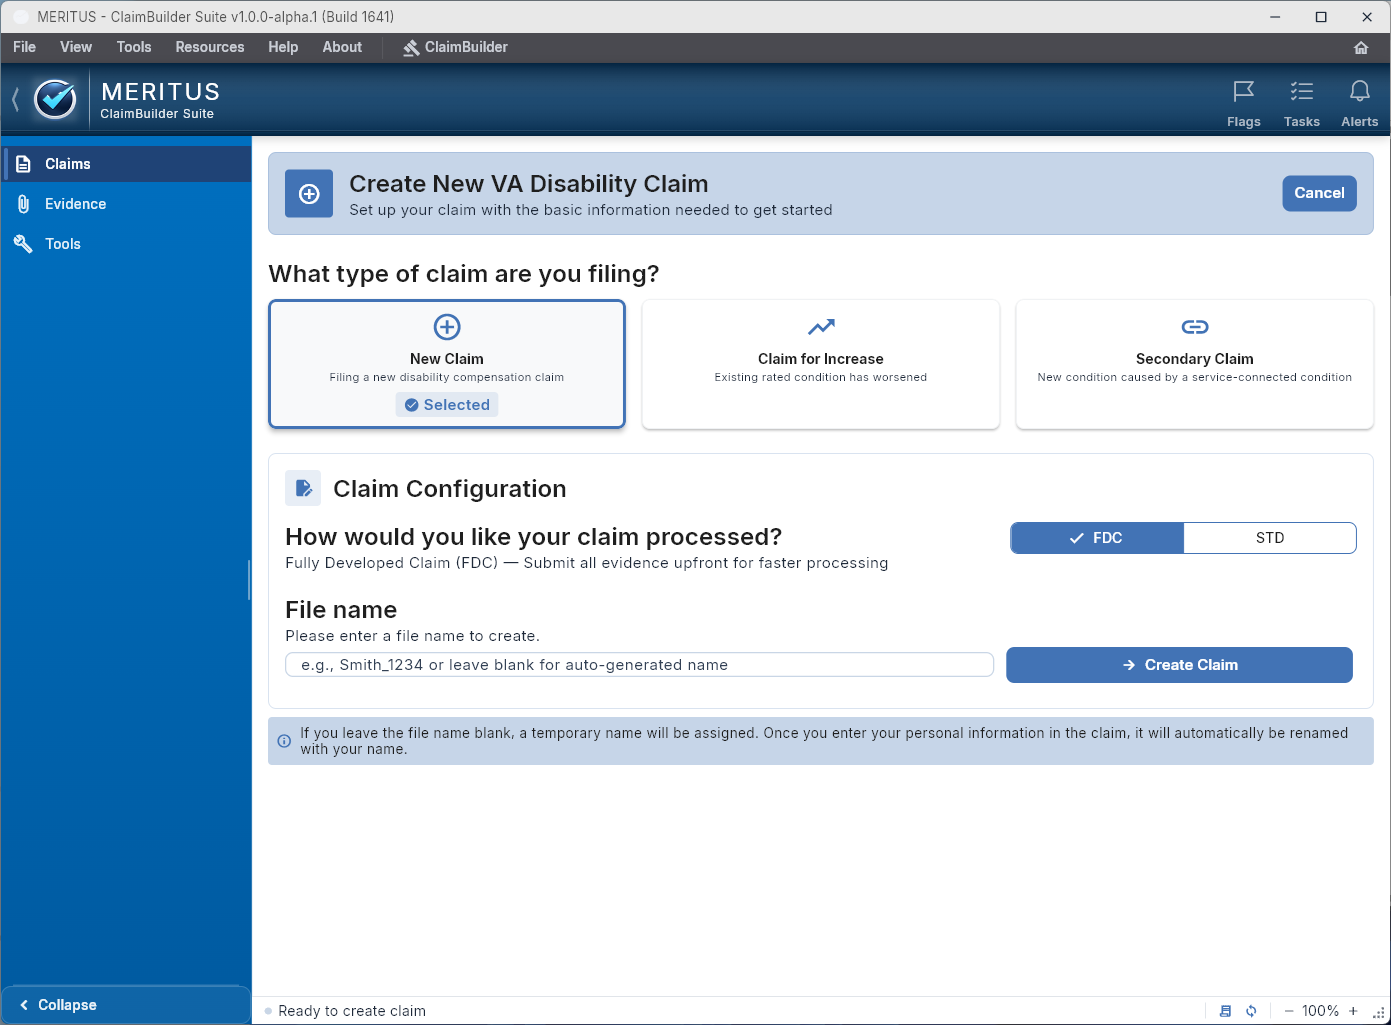
Start New Claim — choose a claim type, set your processing track, name the file, and create it.
Work through the guided form sections
Once the claim is created, you'll move into the guided workflow. Sections follow the structure of VA Form 21-526EZ: Claim, Identification, Service, Exposures, Finalize, Conditions, Evidence, and Review.
You don't need to complete everything in order or in one session. Save your progress and come back. The most important step early on is getting your conditions entered — each condition gets its own workspace for evidence, symptoms, and statements.
- Identification — contact information, service details
- Service — service history, duty stations, deployments
- Exposures — burn pits, Agent Orange, other hazard exposures
- Conditions — add each condition you're claiming with CFR Body Mapper support
- Evidence — attach records per condition with role categories
Use Evidence, Statements, and supporting tools as you go
For each condition, use the Evidence workspace to attach supporting records organized by purpose: diagnosis evidence, in-service event documentation, nexus support, or severity records. Use the Support Statements section to draft your personal statement and manage buddy or witness statements.
From the sidebar, you can also access the CFR Body Mapper when you need to look up diagnostic codes by body region, and the PDF Library when you need to preview or add a VA form to the active claim.
Run the Final Review and File Check before export
When you think the claim is ready, open Review from the sidebar. The Final Review screen shows you the overall claim status — how many conditions are included, how many attachments are present, and whether any blockers exist.
If blockers or warnings appear, use File Check to work through them. Each issue has a severity level and a direct "Go to" link so you can fix it without losing your place. When no blockers remain, the VA Form 21-526EZ will be marked READY.
Export your claim packet and submit through official channels
Export a Claim Packet PDF or a Bundle ZIP from the Final Review screen. These exports contain the organized materials you've prepared inside the app.
ClaimGap does not submit directly to the VA. Once you have your export, take it to your VSO, accredited claims agent, or use the VA's official submission portals (VA.gov or eBenefits) to complete the submission.